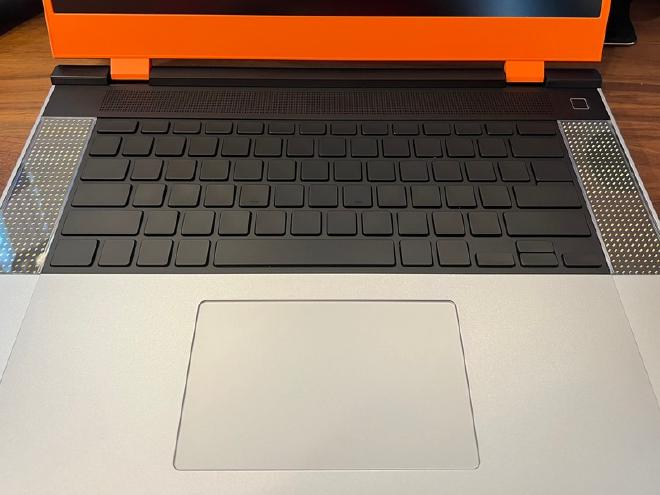
QMK Firmware on the Framework 16

Table of Contents
The Framework 16 laptop runs QMK firmware on its keyboard and macro pad. Unfortunately, the documentation for flashing the firmware isn’t exactly clear for those new to QMK. Let’s consolidate that and flash the firmware together.
Before I begin I’d like to thank user MJ1 on the Framework community forum for this lovely comment detailing the flashing process. I’m no stranger to QMK firmware but it’s been a while since I flashed my Preonic keyboard so I was in need of a refresher.
Generally people use the qmk CLI to build and flash devices. The QMK
documentation has a wonderful setup guide for that. However, I’m running
Fedora 41 which no longer has some of the required dependencies in its default
repositories (e.g., dfu-util). Instead, I decided to use a container to build
and flash the QMK firmware. Here’s another setup guide for using a
container.
Building the QMK Firmware #
Here’s the process I used to flash QMK firmware on the Framework 16 from my Fedora 41 machine.
Configure Linux udev rules as described in the QMK FAQ and reload the
udev rules to take effect immediately. Without this the Framework device will
not be mounted as a mass storage device and you will be unable to copy the
built firmware to the Framework device.
Clone the Framework fork of QMK firmware.
git clone [email protected]:FrameworkComputer/qmk_firmware.git
Check out the latest tag for the repository. At the time of this writing the
tag is v0.2.9. This is required because the Framework fork’s default branch
does not contain the required keyboard/framework directory to support
Framework devices.
git checkout v0.2.9
Pull the submodules.
git submodule update --init --recursive
Create a new directory to configure a keymap for the desired device and copy the default keymap into that directory. The following devices are supported.
keyboards/framework/ansi- Framework ANSI keyboard.keyboards/framework/iso- Framework ISO keyboard.keyboards/framework/macropad- Framework macro pad.
I’ll be using the keyboards/framework/ansi device and name my directory
sudomateo.
mkdir -p keyboards/framework/ansi/keymaps/sudomateo
cp keyboards/framework/ansi/keymaps/default/keymap.c keyboards/framework/ansi/keymaps/sudomateo/keymap.c
Modify the custom keymap to your liking. Here’s a diff of me changing caps lock to escape.
diff --git a/keyboards/framework/ansi/keymaps/sudomateo/keymap.c b/keyboards/framework/ansi/keymaps/sudomateo/keymap.c
index f85eee4d36..d262cde6a0 100644
--- a/keyboards/framework/ansi/keymaps/sudomateo/keymap.c
+++ b/keyboards/framework/ansi/keymaps/sudomateo/keymap.c
@@ -35,7 +35,7 @@ const uint16_t PROGMEM keymaps[][MATRIX_ROWS][MATRIX_COLS] = {
         KC_ESC,  KC_MUTE, KC_VOLD, KC_VOLU, KC_MPRV, KC_MPLY, KC_MNXT, KC_BRID, KC_BRIU, KC_SCRN, KC_AIRP, KC_PSCR, KC_MSEL, KC_DEL,
         KC_GRV,  KC_1,    KC_2,    KC_3,    KC_4,    KC_5,    KC_6,    KC_7,    KC_8,    KC_9,    KC_0,    KC_MINS, KC_EQL,  KC_BSPC,
         KC_TAB,  KC_Q,    KC_W,    KC_E,    KC_R,    KC_T,    KC_Y,    KC_U,    KC_I,    KC_O,    KC_P,    KC_LBRC, KC_RBRC, KC_BSLS,
-        KC_CAPS, KC_A,    KC_S,    KC_D,    KC_F,    KC_G,    KC_H,    KC_J,    KC_K,    KC_L,    KC_SCLN, KC_QUOT,          KC_ENT,
+        KC_ESC,  KC_A,    KC_S,    KC_D,    KC_F,    KC_G,    KC_H,    KC_J,    KC_K,    KC_L,    KC_SCLN, KC_QUOT,          KC_ENT,
         KC_LSFT,          KC_Z,    KC_X,    KC_C,    KC_V,    KC_B,    KC_N,    KC_M,    KC_COMM, KC_DOT,  KC_SLSH,          KC_RSFT,
         KC_LCTL, MO(_FN), KC_LGUI, KC_LALT,          KC_SPC,                    KC_RALT, KC_RCTL, KC_LEFT,   KC_UP, KC_DOWN, KC_RGHT
     ),
Update the container image used by the Framework fork to work around the bug described in FrameworkComputer/qmk_firmware#42.
diff --git a/util/docker_build.sh b/util/docker_build.sh
index 828b5751af..b158fd8048 100755
--- a/util/docker_build.sh
+++ b/util/docker_build.sh
@@ -81,5 +81,5 @@ fi
        -e ALT_GET_KEYBOARDS=true \
        -e SKIP_GIT="$SKIP_GIT" \
        -e MAKEFLAGS="$MAKEFLAGS" \
-       ghcr.io/qmk/qmk_cli \
+       ghcr.io/qmk/qmk_cli@sha256:d8ebfab96c46d3ab948dd4e87be8a976095bd31268700021a74716cbd6e5b4c1 \
        make "$keyboard${keymap:+:$keymap}${target:+:$target}"
diff --git a/util/docker_cmd.sh b/util/docker_cmd.sh
index 4a82890603..12927c72af 100755
--- a/util/docker_cmd.sh
+++ b/util/docker_cmd.sh
@@ -55,5 +55,5 @@ fi
        $uid_arg \
        -w /qmk_firmware \
        -v "$dir":/qmk_firmware \
-       ghcr.io/qmk/qmk_cli \
+       ghcr.io/qmk/qmk_cli@sha256:d8ebfab96c46d3ab948dd4e87be8a976095bd31268700021a74716cbd6e5b4c1 \
        "$@"
Build the firmware using a container. The target is in the format
KEYBOARD:KEYMAP:TARGET.
# Docker
util/docker_build.sh framework/ansi:sudomateo:build

# Podman
RUNTIME="podman" util/docker_build.sh framework/ansi:sudomateo:build
At this point you’ll have a firmware file in your current working directory named after your keymap.
> ls *.uf2
framework_ansi_sudomateo.uf2
Flashing the QMK Firmware #
Before proceeding connect an external keyboard to the Framework 16. We’re about to put the Framework device into bootloader mode so it will not be usable until it’s flashed or disconnected and reconnected.
Perform the following process to put the Framework 16 device into bootloader mode.
- Keyboard
- Remove the keyboard.
- Hold the left ALT and right ALT keys on the keyboard. Continue holding the keys until further notice.
- Install the keyboard.
- Install the trackpad module.
- Wait for the mass storage device to be mounted to your machine.
- Release the left ALT and right ALT keys.
- Macro Pad
- Remove the macro pad.
- Hold the 2 and 6 keys on the macro pad. Continue holding the keys until further notice.
- Install the macro pad.
- Install the trackpad module.
- Wait for the mass storage device to be mounted to your machine.
- Release the 2 and 6 keys.
Since the Framework 16 devices use an RP2040 microcontroller a mass storage device will be mounted to your operating system. Check your file explorer to find it.
To flash the firmware, simply copy the firmware file that you built to the mass storage device. The device will reboot and be flashed.
Repeat this process until you are happy with your keymap. You can always build and flash the default firmware if you mess up. The default firmware is also available on the releases page if you really mess up.
Enjoy your keymap!