Fedora Linux & Hyper-V Enhanced Session Mode

Table of Contents
Let’s configure Hyper-V to let us use the full resolution of our monitor for a Fedora Linux virtual machine.
I love using Linux. My distribution of choice is Fedora because it’s a stable enough rolling release with a strong community. However, I enjoy creating content and Linux and content creation don’t always play nicely together. GPU driver issues, unsupported peripherals, and woes with Wayland keep my experience from being perfect.
I decided to go back to running Windows 11 Pro and run Fedora Linux as a virtual machine using Hyper-V to hopefully get the best of both worlds. I’d use VMware, but who knows what their future holds now that Broadcom owns them.
Hyper-V works well for my use case but there’s an issue where Hyper-V doesn’t let you use the full monitor resolution for the virtual machine unless enhanced session mode is enabled and configured properly on the virtual machine. While I mostly SSH into my Fedora Linux virtual machine there are times where I do want to use its user interface. Let’s fix this.
Instructions #
I spent some time researching how to do this only to find a myriad of articles and GitHub gists that were honestly sloppy and didn’t do much to tell you what’s happening. I knew I wasn’t going to be able to find this information again so I decided to write it down for myself and clean it up a bit for future readers. Enjoy!
Install Hyper-V tools and xrdp.
sudo dnf install hyperv-tools xrdp xrdp-selinux
Update the /etc/xrdp/xrdp.ini file to configure xrdp to use vsock for
communication between the hypervisor and the virtual machine. Also, lower
security to increase performance since we’re using a local connection between
the hypervisor and virtual machine.
diff --git a/etc/xrdp/xrdp.ini b/etc/xrdp/xrdp.ini
index 0351650..4a7d696 100755
--- a/etc/xrdp/xrdp.ini
+++ b/etc/xrdp/xrdp.ini
@@ -20,7 +20,7 @@ fork=true
 ;   port=tcp6://:3389                           *:3389
 ;   port=tcp6://{<any ipv6 format addr>}:3389   {FC00:0:0:0:0:0:0:1}:3389
 ;   port=vsock://<cid>:<port>
-port=3389
+port=vsock://-1:3389

 ; 'port' above should be connected to with vsock instead of tcp
 ; use this only with number alone in port above
@@ -44,12 +44,12 @@ tcp_keepalive=true

 ; security layer can be 'tls', 'rdp' or 'negotiate'
 ; for client compatible layer
-security_layer=negotiate
+security_layer=rdp

 ; minimum security level allowed for client for classic RDP encryption
 ; use tls_ciphers to configure TLS encryption
 ; can be 'none', 'low', 'medium', 'high', 'fips'
-crypt_level=high
+crypt_level=none

 ; X.509 certificate and private key
 ; openssl req -x509 -newkey rsa:2048 -nodes -keyout key.pem -out cert.pem -days 365
@@ -81,7 +81,7 @@ autorun=
 allow_channels=true
 allow_multimon=true
 bitmap_cache=true
-bitmap_compression=true
+bitmap_compression=false

 bulk_compression=true
 #hidelogwindow=true
Configure xrdp to start immediately and on boot.
sudo systemctl enable --now xrdp
sudo systemctl enable --now xrdp-sesman
Open the xrdp port persistently.
sudo firewall-cmd --add-port=3389/tcp --permanent
sudo firewall-cmd --reload
Shut down the virtual machine.
Open an Administrator Windows PowerShell prompt and configure the Hyper-V
enhanced session mode transport type for the virtual machine to HvSocket.
Replace <VM_NAME> with the name of your virtual machine as shown in Hyper-V.
Set-VM -VMName <VM_NAME> -EnhancedSessionTransportType HvSocket
Confirm the Hyper-V enhanced session mode transport type is indeed HvSocket.
Replace <VM_NAME> with the name of your virtual machine as shown in Hyper-V.
> Get-VM <VM_NAME> | select EnhancedSessionTransportType

EnhancedSessionTransportType
----------------------------
                    HvSocket
Power on the virtual machine.
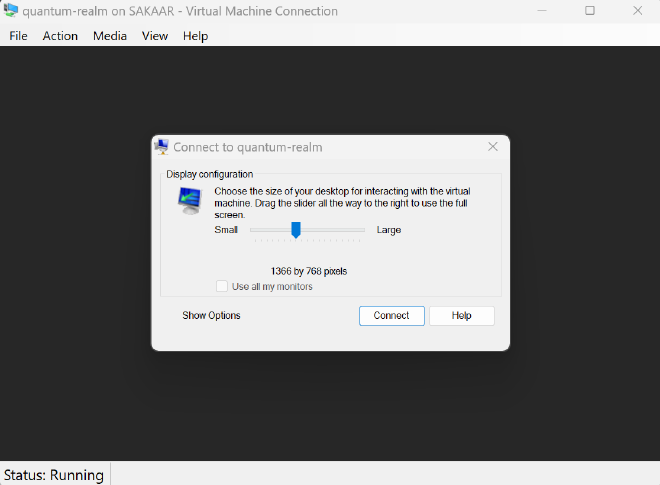
Select the desired display resolution.

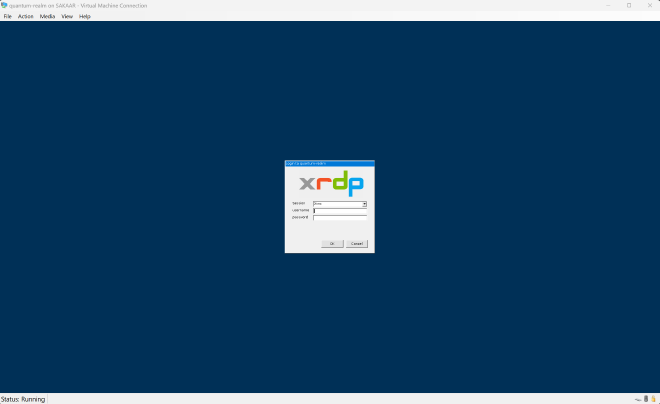
Log in to the virtual machine using xRDP with your username and password.

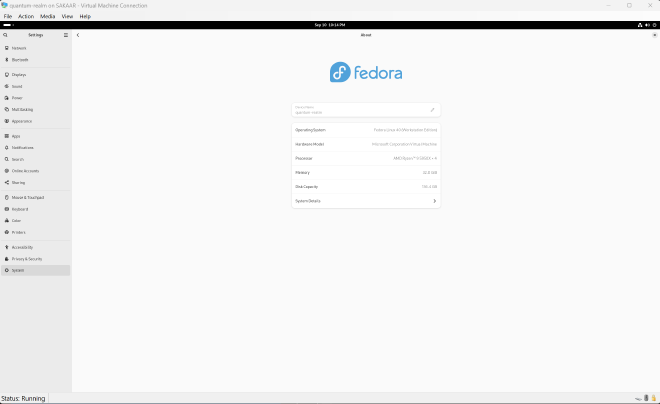
Congratulations! You’re logged into the virtual machine with great resolution!
